
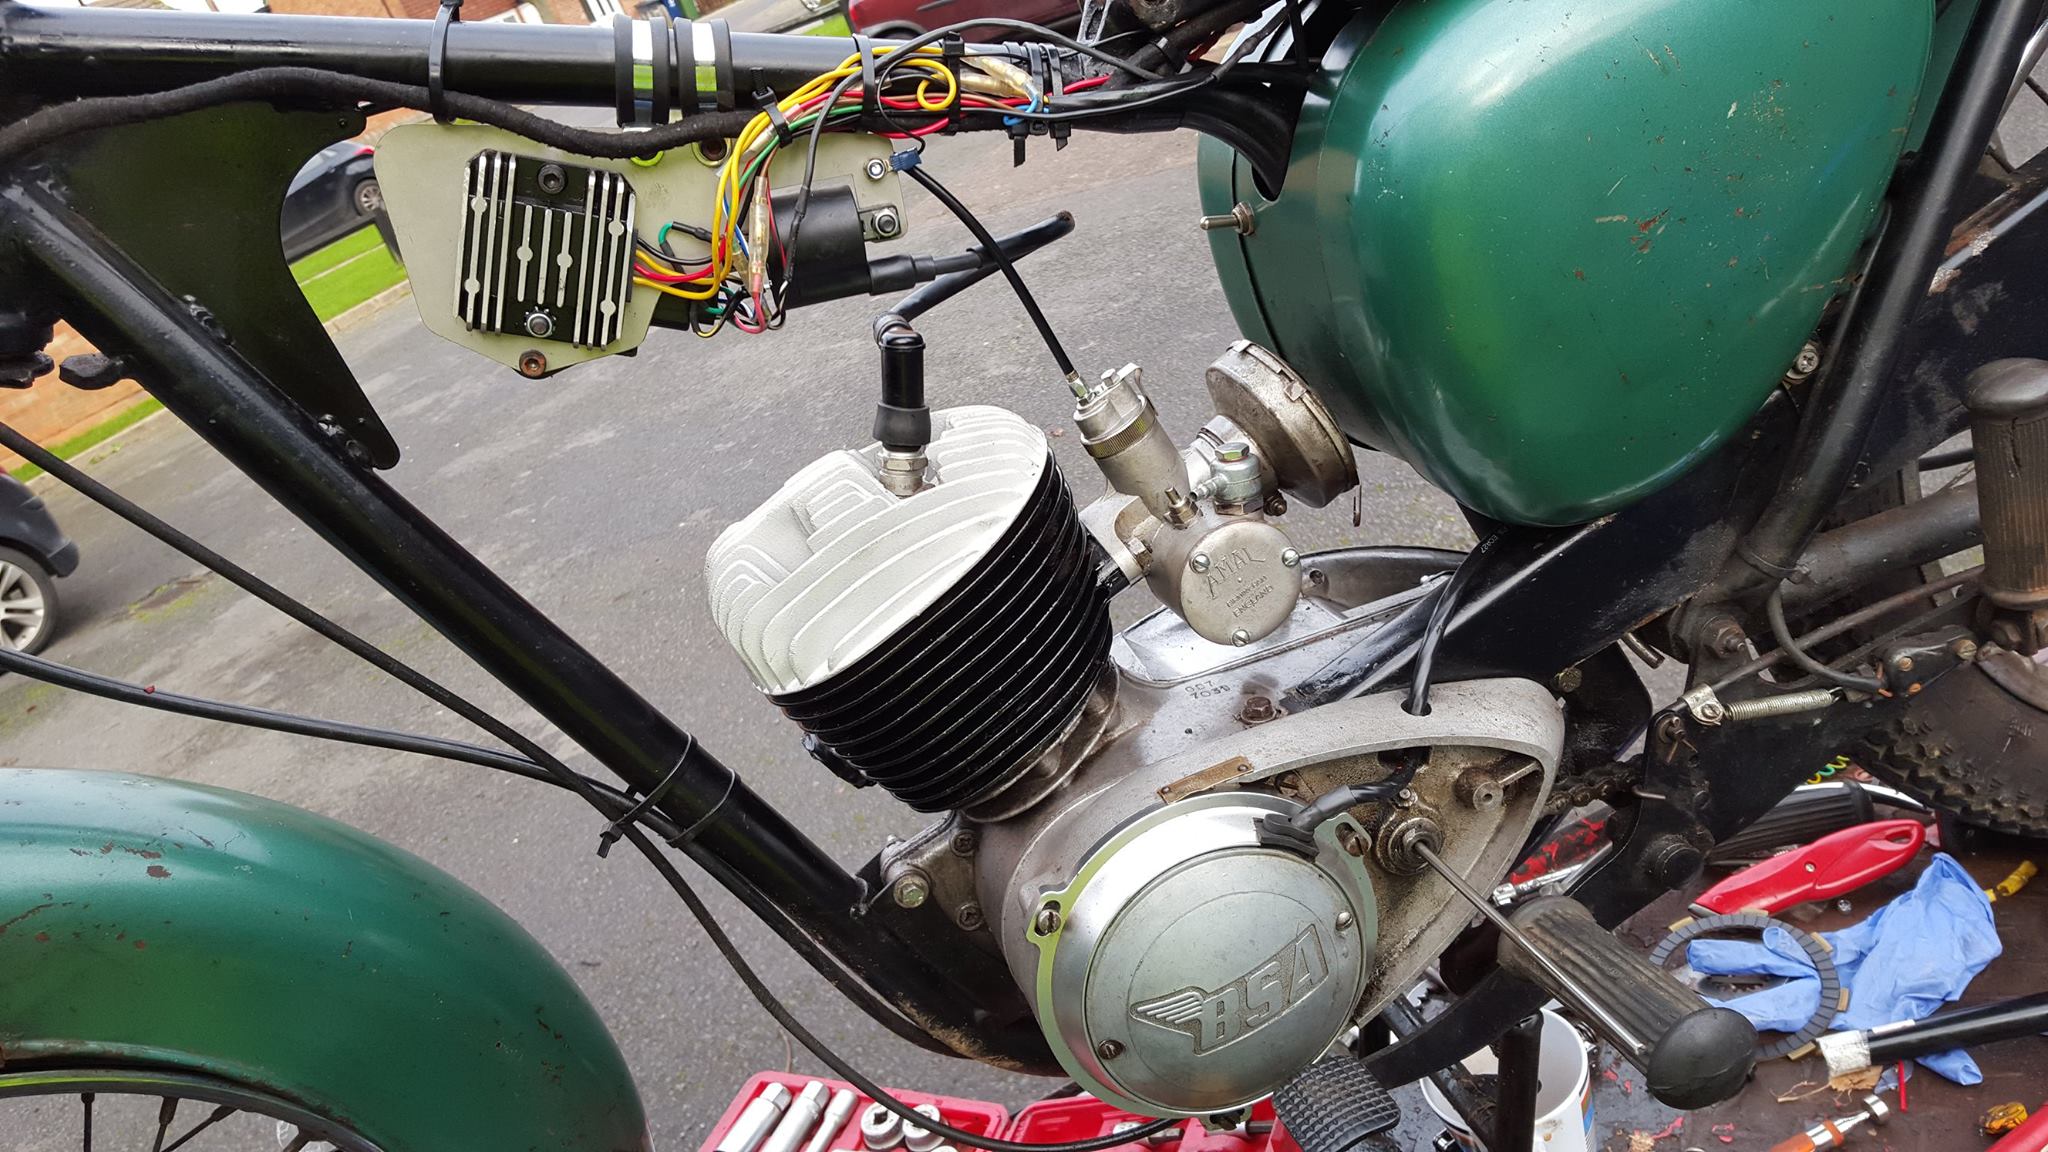
Yamaha Clutch on a BSA Bantam
I've owned my BSA 1966 D7 Bantam for about three years, and despite fitting extra strong springs, and Rex Caunts latest plates I've always suffered from clutch slip. With a brand new Amal, and a Bones CDi I felt that this was the achiles heel of my rolling restoration.
I was aware of a mod used by those that Trail ride bantams that involved using a Bultaco or Yamaha basket. But no amount of Googling would return any results.
One evening whilst surfing I spotted a post on the BSA Bantam forum showing a Yamaha clutch basket modified to fit the BSA Bantam. I contacted the poster and within the hour email and phone numbers were exchanged. The following evening I contacted to Engineer responsible for the creating the modified basket.
Over a weekend I proceeded to fit the new clutch to the Bantam. Here's a photo essay of the fit, and post fit tuning. This covers a D7 66 fit.
The Legal Yargon.
Proceed with extreme caution - I put it here as an aide. I am not an expert, and one should not attempt this mod without the appropiate skills. Do not sue me - you attempt this at your own risk.
Shopping List.
1. Yamaha Clutch basket and plates. Approx £160
2. Hardened steel rod (link to ebay item here ) I bought two in case I had an error in cutting my first length. £3 per length.
3. Enough gearbox oil to replace your old oil. I am currently running a Halfords Classic Motorcycle Oil.
Step 1.
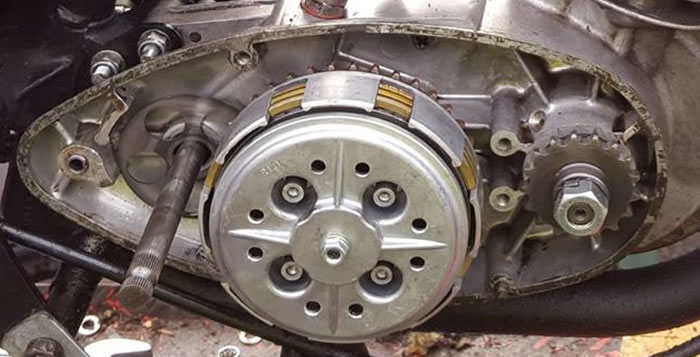
Remove the BSA Bantam clutch basket. Keep the following parts safe, as we'll be re-using these.
- Brass Hat bush.
- Main Clutch Spring.
- Circlip
- Cup Washer ( I replaced mine as they do wear and prevent retaing spring being seated correctly )
wrong photo below.
Step 2.
Remove the main push rod ( clutch ) and carefully the ball bearing(s) you will need the ball bearing later.
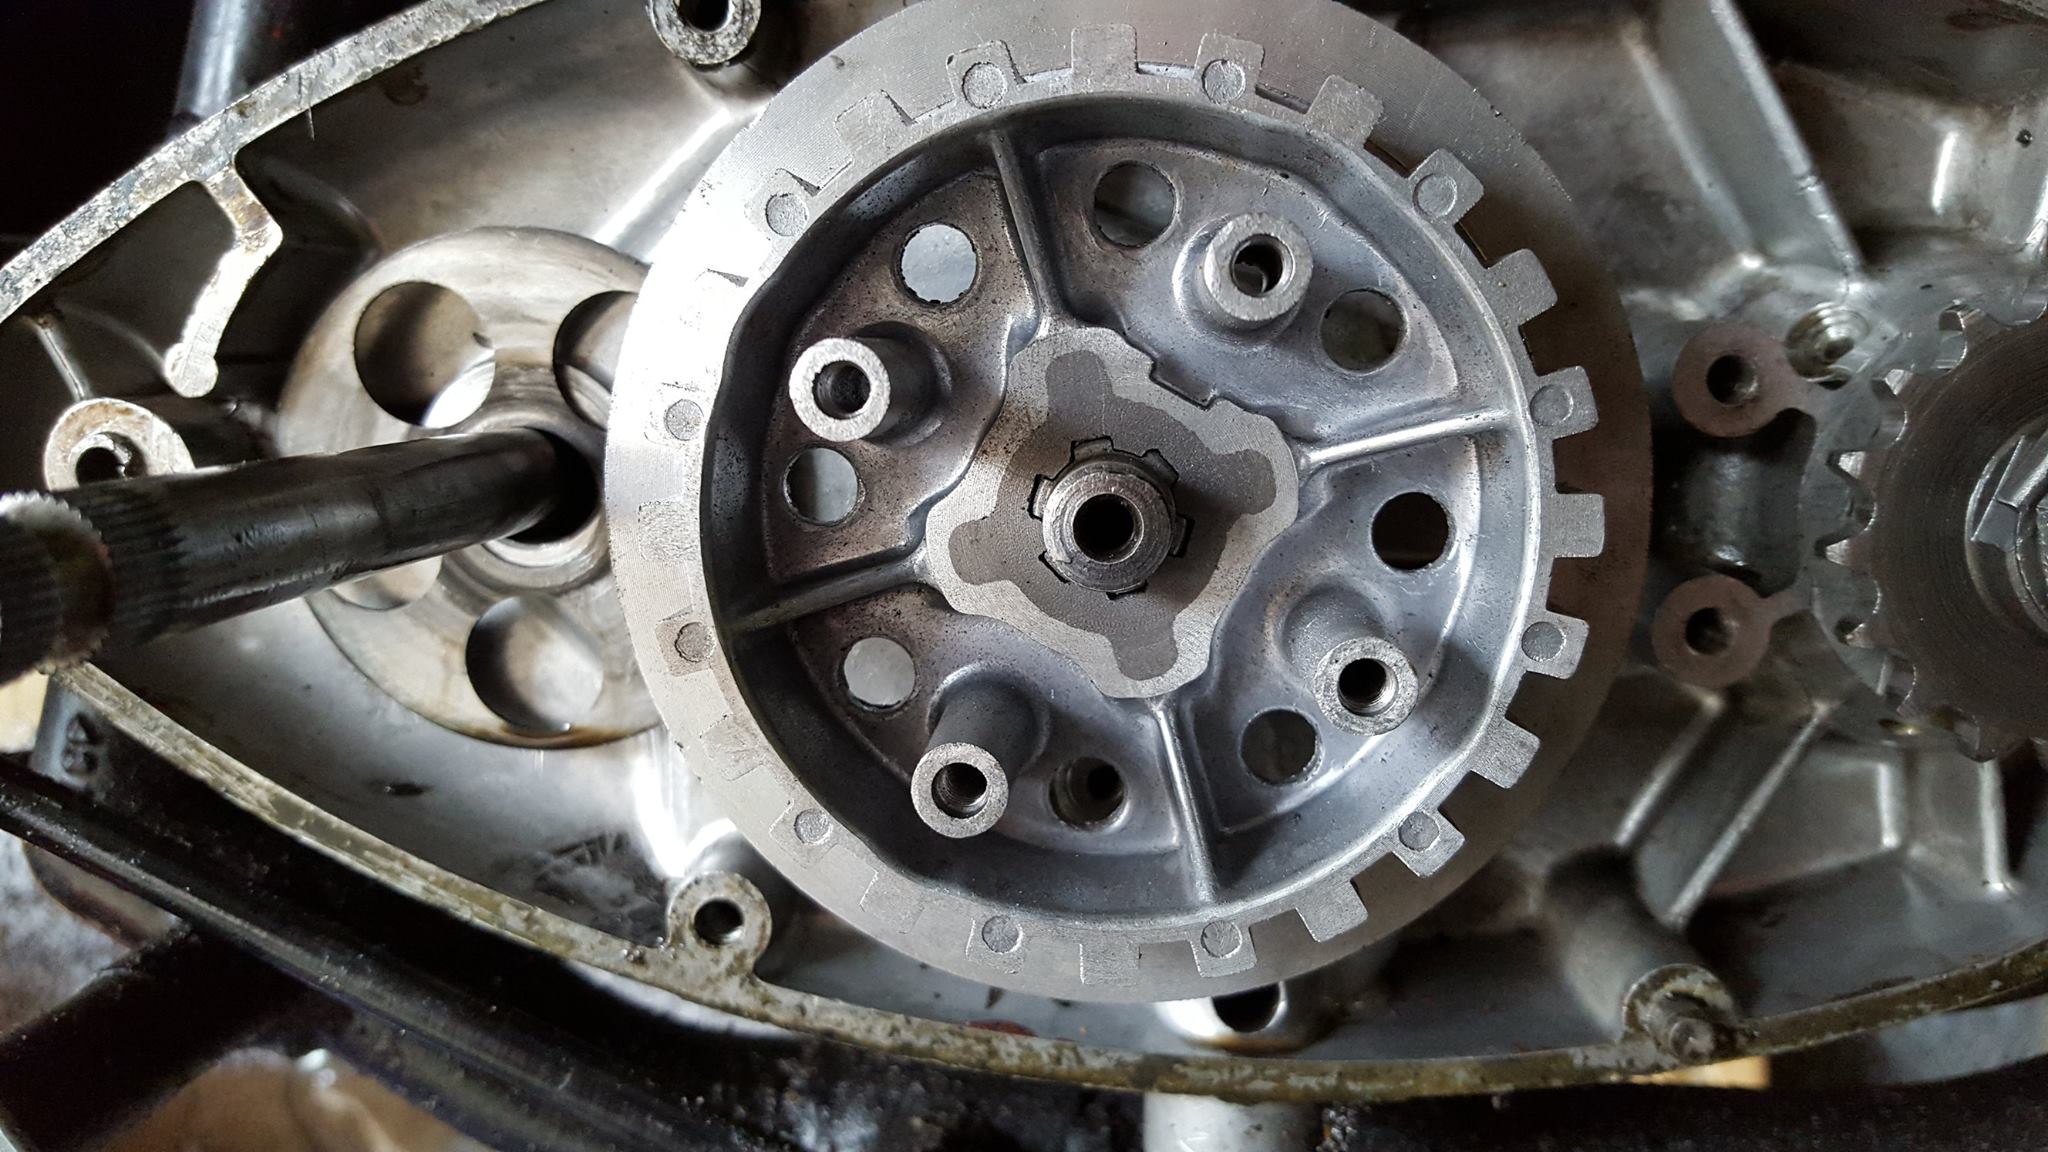
Step 3.
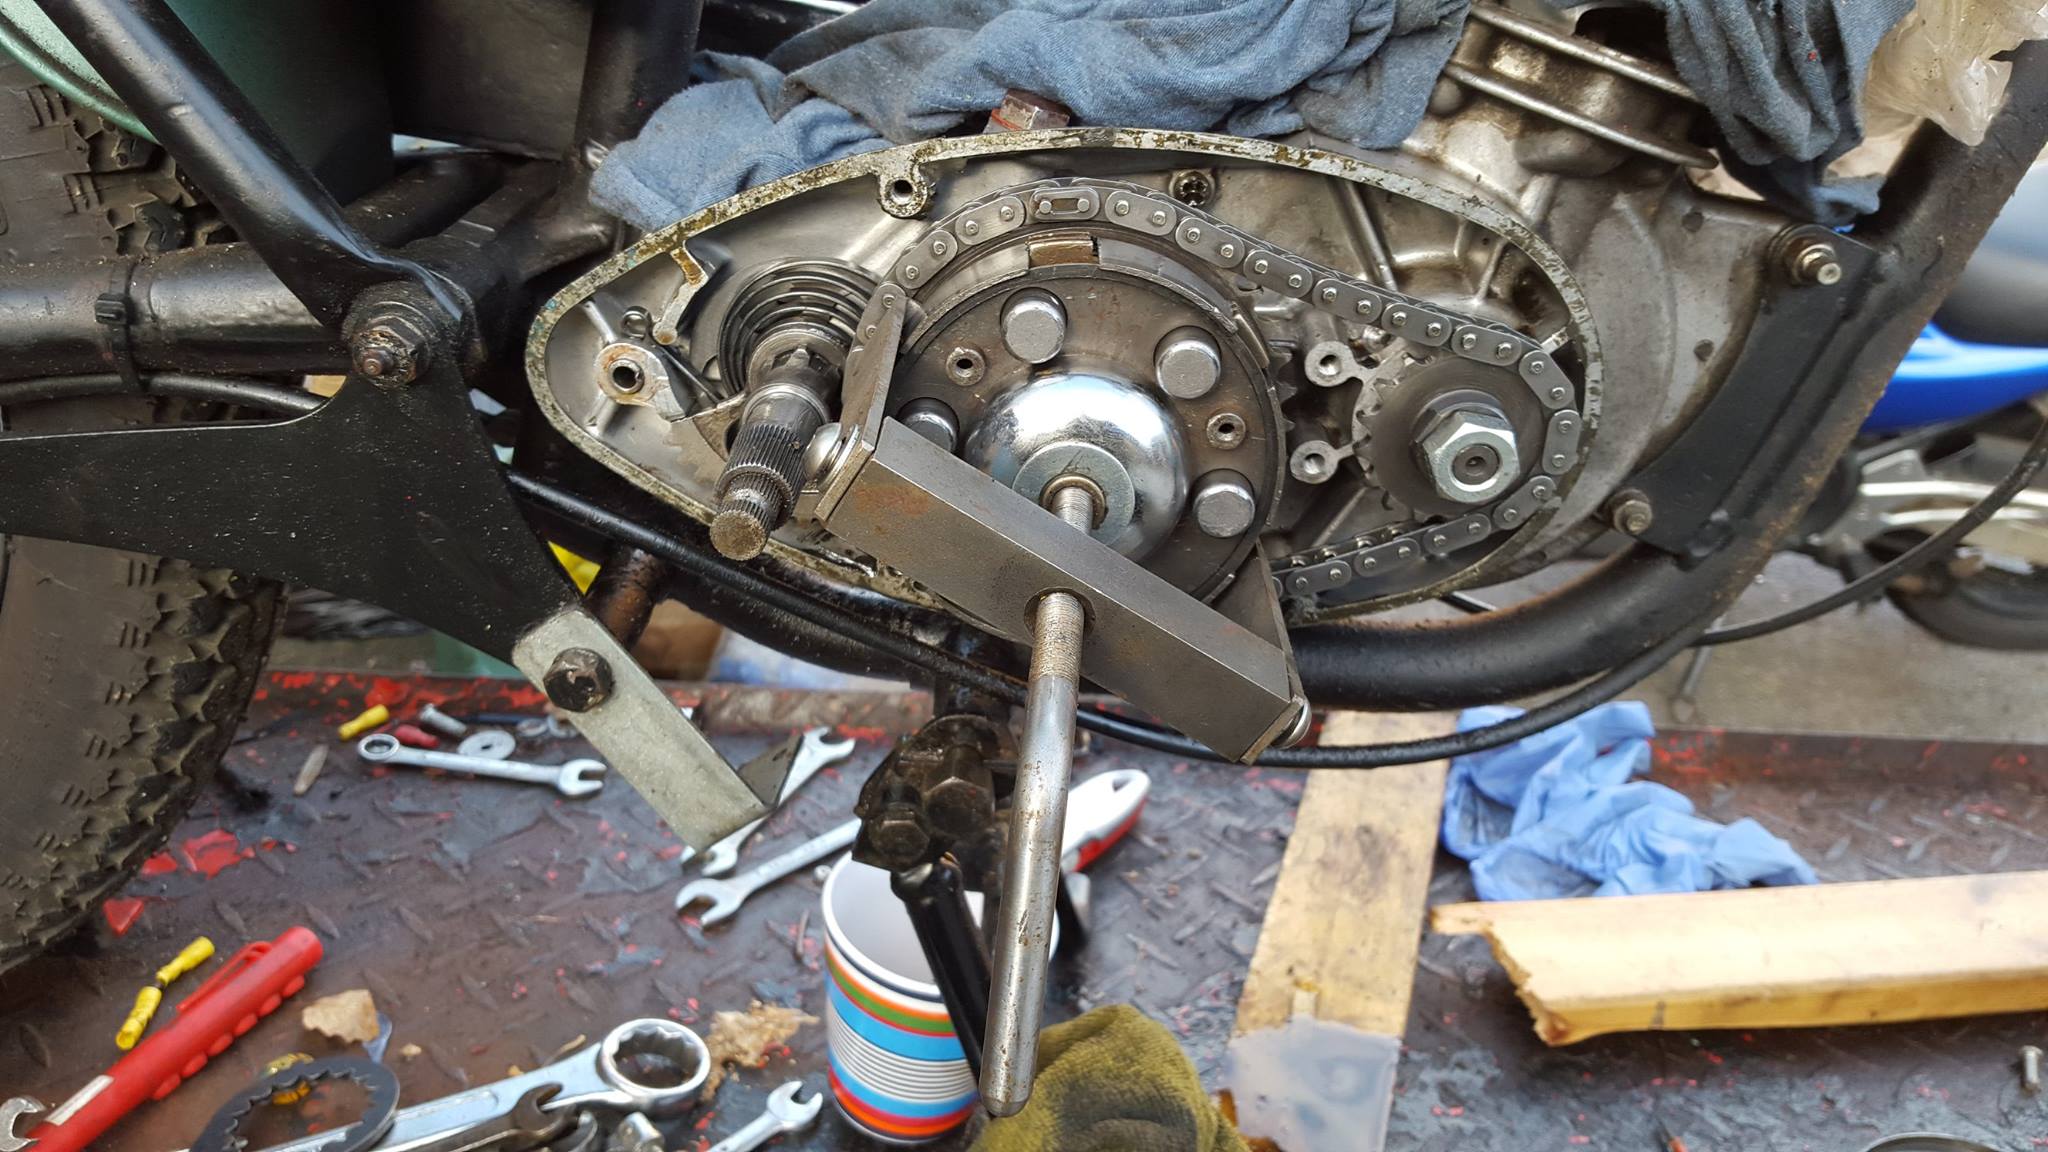
Offer up the new clutch basket. if it's a tight fit the production engineer recommended that I "banged it on with a socket" however fearful of not being able to remove it I gently and with caution use a needle file to gently remove the excess metal, it is soft so take care and only remove the bare minimum.
Step 4.
Remove the clutch adjuster completely - measure it's length. All measurements are in mm. Take great as theirs a ball bearing behind this.
Step 5.
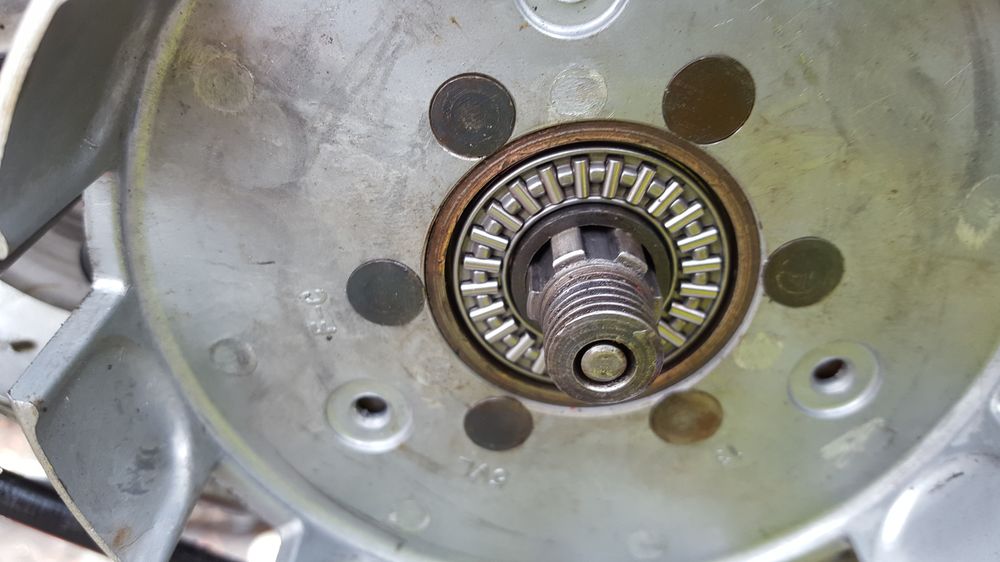
Push the length of steel through the centre of the clutch splined shaft. all the way. Don't worry it's long enough to poke through both ends.
Step 6.
Do a dry build of the new clutch using the centre push rod, push it as shown below. Feed one bearing in so that it is placed between the new steel rod, and the clutch push rod. A second bearing will sit between the end of the new steel rod and the adjuster.
This is how you calculate the final cut point of the steel rod. You mark the rod as it's flush with the engine case ( sticking out ) you then reduce the cut point by a further 3mm, then again a further 12mm ( this is the midpoint on the treaded adjuster, meaning you will have 50% of the adjuster to play with, this allows easy adjustment. You will have to cut the steel rod with a disk cutter, as it's far too tough to cut with a blade.
Step 7.
Do a dry build of the complete mechanism as described above. Check the clutch operation, and confirm the cut points of the steel rod is correct. Move to the next step if it is.
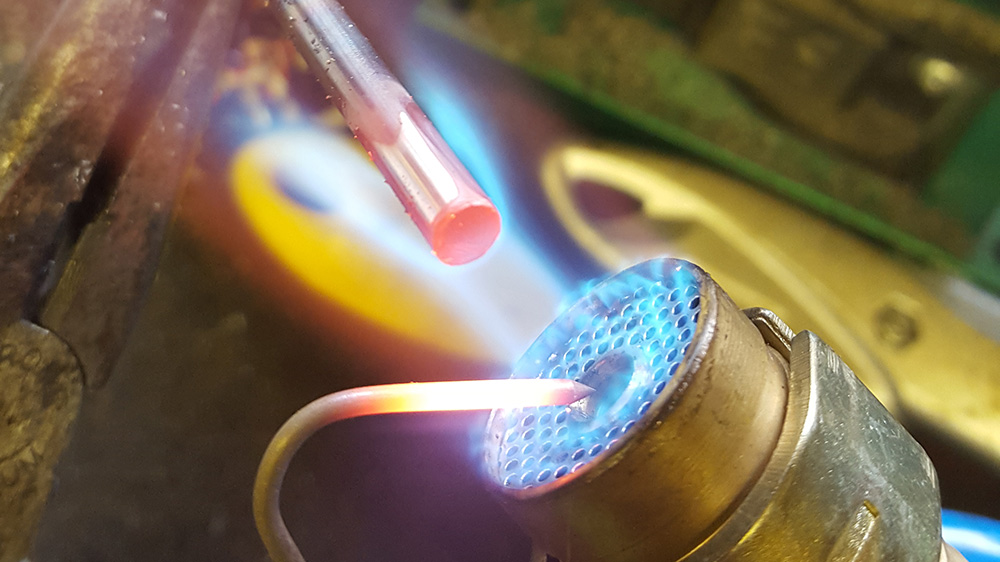
Step 8.
Heat the steel rod until cherry red and plunge into oil to harden. Do not do this until you are very confident the length of the rod is correct.
Step 9.
Do a final build, use a small amount of threadlock on the clutch centre bolt. Rebuild and tighten all nuts and bolts. On my first run I did not assemble the outer cover, do not run for long like this as the gearbox will only be using the residue oil. However a short test of the clutch working will not harm the gears.
Step 10.
Once you are confident reassemble the outer case, footpeg and exhaust. Note you may have to file away a small amout of alloy from the inside of the outer case kick start casting, friends had commented this may be needed, however i did not need to do this. This is due to a slightly larger clutch basket.
Step 11.
Fill up the gearbox oil. Test ride. Their is an adjuster on the clutch basket, and the BSA Bantam adjuster as well.
Galleries to assist there maybe duplicates.


